
On AllBetter
Need a local pro?
Post the job free and compare bids from identity-verified local pros — payment held in escrow until the work is done right.
Find a verified pro near you →The average American household now owns more than 20 connected devices, according to Deloitte’s 2024 Connectivity and Mobile Trends survey. Smart thermostats, locks, doorbells, and water sensors promise energy savings, security, and convenience — but roughly 25% of smart home devices get returned within 30 days. The reason is rarely a defective product. It is almost always an installation problem that the product manual never warned about.
Setting up a home for an aging parent instead? Our aging-in-place technology guide covers independence upgrades starting at $15.
What are the most common smart home installation mistakes? The biggest failures involve thermostat wiring (missing C-wire causes HVAC short-cycling), smart lock alignment (misaligned doors burn out motors within months), video doorbell power (old transformers cannot sustain video feeds), and improper water shutoff valve sizing. Each of these problems has a straightforward fix when caught before installation, but becomes expensive when discovered after the device is mounted and connected.
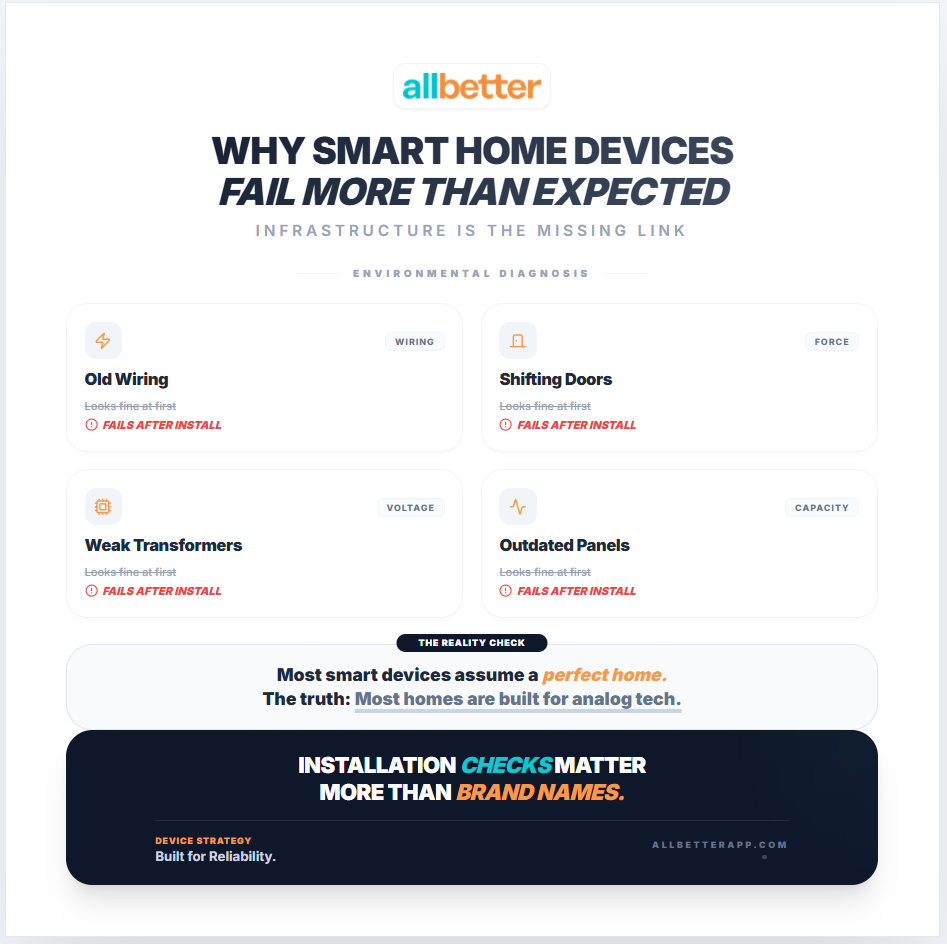
Why Smart Home Devices Fail More Often Than Expected
Skipping the DIY route? You can post the job on AllBetter and have ID-verified pros bidding in about 10 minutes — no spam calls, payment held in escrow until you approve the work.
Smart home manufacturers design products for ideal conditions: modern wiring, standard door frames, adequate transformer power, and strong Wi-Fi throughout the house. Most homes — especially those built before 2000 — do not meet all of these assumptions. The Consumer Technology Association reports that installation difficulty is the number one reason consumers abandon smart home products after purchase.
The gap between what the marketing promises and what your house can actually support creates four specific failure patterns. Each one is predictable, and each one has a clear solution that costs far less than replacing the device or repairing the damage it causes.
Key Stat: Installation difficulty is the #1 reason consumers abandon smart home products after purchase — not product quality, not price. (Consumer Technology Association)
Smart Thermostats: The C-Wire Problem
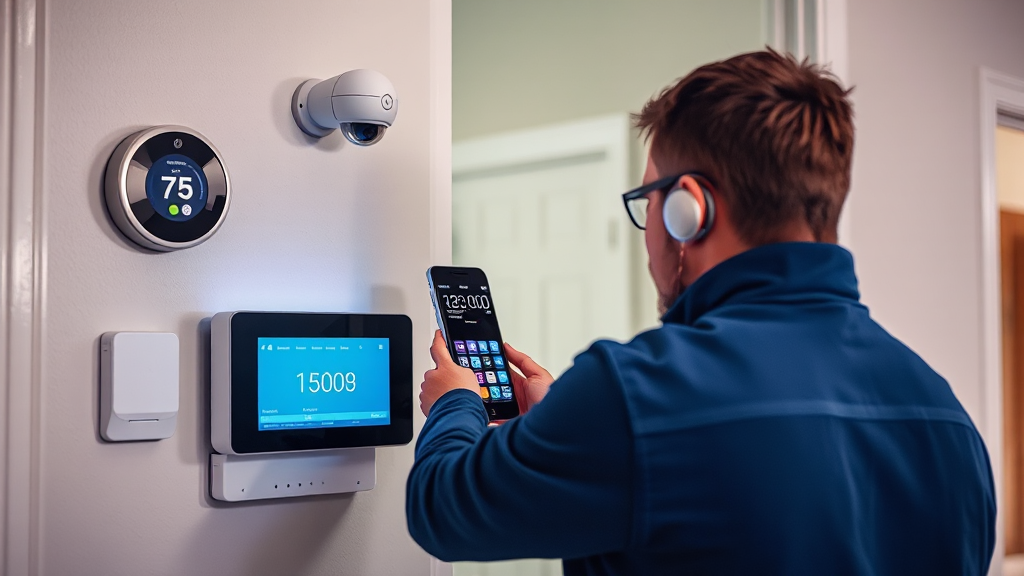
Smart thermostats are the most popular smart home upgrade, with Energy Star estimating they save 8% on heating and cooling bills annually. But they are also the device most likely to cause immediate problems during installation.
What Goes Wrong
You remove the old thermostat and find four wires behind the wall plate. The new smart thermostat requires five — specifically, a C-wire (common wire) that provides continuous 24-volt power. Without this wire, the thermostat attempts to steal power from the heating or cooling call circuits. This causes the HVAC system to short-cycle, turning on and off in rapid bursts that stress the compressor and control board.
Short-cycling is not just annoying. According to HVAC industry data, a compressor that short-cycles regularly loses 30% to 50% of its expected lifespan. Replacing an air conditioner compressor costs $1,500 to $3,000 — a significant price to pay for a $200 thermostat installed incorrectly.
Warning
Never use the “fan wire hack” where the G (fan) wire gets repurposed as a C-wire. This disables independent fan control and can cause humidity problems throughout your home.
The Correct Installation Approach
Before purchasing any smart thermostat, check behind your existing thermostat plate for a fifth wire. If you see only four wires (typically red, white, yellow, and green), you need one of these solutions:
- Run a new C-wire — the most reliable fix, requiring access to the furnace and thermostat location. An electrician or HVAC technician can complete this in 30 to 90 minutes
- Install a C-wire adapter — a small device installed at the furnace that repurposes an existing wire. Less invasive but may not work with all HVAC configurations
- Use a thermostat with battery backup — some models like the Nest handle missing C-wires through internal battery charging, though this approach is less reliable long-term
Smart Locks: Door Alignment Matters More Than the App
Smart locks are the second most popular smart home purchase, driven by the convenience of keyless entry, remote access, and auto-locking. But the technology inside these locks has a physical limitation that no firmware update can fix: the motor is small, battery-powered, and designed to turn a deadbolt that moves freely.
What Goes Wrong
If your door requires any force to close — a push, a lift, a shoulder bump — the deadbolt is not aligned with the strike plate. A manual deadbolt still works under these conditions because your hand provides the extra force. A smart lock motor cannot. It strains against the misalignment on every lock cycle, draining batteries in weeks instead of months and burning out the motor within six to twelve months.
The result is a $200 to $350 lock that fails before its first battery change. Most warranty claims get denied because the manufacturer classifies misalignment as an installation error, not a product defect.
The Pre-Installation Test
Before installing any smart lock, perform this alignment check:
- Close the door without touching the handle — it should latch fully on its own
- Turn the deadbolt manually with two fingers only — it should rotate smoothly with minimal resistance
- Check the gap between the door and frame — it should be consistent from top to bottom
- Look at the strike plate — the deadbolt should enter the center of the hole without scraping the edges
If any of these checks fail, fix the door first. Common fixes include adjusting the strike plate position, shimming the hinges, or planing the door edge. A handyman can resolve most alignment issues in under an hour for $75 to $150 — a fraction of the cost of replacing a burned-out smart lock.
Video Doorbells: The Transformer Bottleneck
Video doorbells have become standard home security equipment. Ring, Google Nest, and dozens of competitors promise 24/7 video monitoring, motion alerts, and two-way audio from your phone. The hardware works exactly as advertised — when it has enough power.
What Goes Wrong
Most homes built before 2010 use doorbell transformers rated at 10 to 16 volts AC. These were designed to ring a simple mechanical chime, which draws power for a fraction of a second per button press. Video doorbells draw power continuously — for Wi-Fi, the camera sensor, infrared LEDs for night vision, and the processor that handles motion detection.
When the transformer cannot supply enough sustained power, you see three symptoms: degraded video quality (especially at night when IR LEDs need the most current), random disconnections as the device reboots, and delayed motion notifications because the processor throttles to conserve energy. The National Electrical Manufacturers Association (NEMA) recommends at least 16 to 24 volts AC and 30 VA for modern video doorbell installations.
Pro Tip
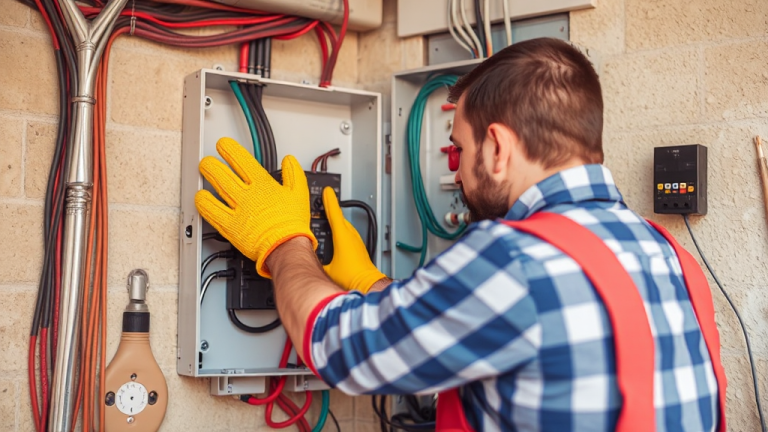
Before mounting the doorbell, use a multimeter to check the transformer output at the doorbell wires. If it reads below 16V AC, replace the transformer first. A 24V/40VA doorbell transformer costs $15 to $25 and takes an electrician 20 to 30 minutes to swap.
The Fix
Before mounting the doorbell, use a multimeter to check the transformer output at the doorbell wires. If it reads below the doorbell manufacturer’s minimum requirement (usually 16V AC), replace the transformer. A 24V/40VA doorbell transformer costs $15 to $25, and an electrician can swap it in 20 to 30 minutes.
Also check the wire gauge running from the transformer to the doorbell location. Longer runs on thin wire (22 gauge or smaller) cause voltage drop that creates the same symptoms as an undersized transformer. Wire runs over 80 feet may need 18-gauge wire to maintain adequate voltage at the doorbell.
Smart Water Shutoff Valves: The Device That Pays for Itself
On AllBetter
Ready to get it done?
Fund escrow before work starts. Release payment when you approve the finished work.
Find a verified pro near you →Unlike thermostats, locks, and doorbells — which add convenience — a smart water shutoff valve provides genuine financial protection. The Insurance Information Institute reports that water damage is the second most common homeowner insurance claim, with an average payout exceeding $12,000. A single burst pipe in a home left vacant for a weekend can cause $50,000 or more in damage to floors, walls, furniture, and personal property.
By the Numbers: Water damage is the 2nd most common homeowner insurance claim. Average payout: $12,000+. A smart shutoff valve installed for $300-$600 can prevent the entire loss. (Insurance Information Institute)
How It Works
A smart water shutoff valve installs on your main water supply line. Paired with leak sensors placed near water heaters, washing machines, dishwashers, and toilets, the system detects water where it should not be and automatically closes the main valve within seconds. You receive a phone notification, and the water stops flowing before damage spreads.
Installation Considerations
This is one smart home device where professional installation is strongly recommended. The valve connects directly to your main water supply, and incorrect sizing, poor placement, or improper fitting can create pressure problems or leaks at the connection point. A licensed plumber ensures proper valve sizing for your pipe diameter, correct placement after the main shutoff, and leak-free connections using appropriate fittings.
Installation typically costs $200 to $400 including the valve, compared to the average $12,000 water damage claim it can prevent.
DIY vs. Professional Installation: Cost Comparison
The decision between DIY and professional installation depends on two factors: the complexity of the work and the cost of failure. Here is how each device compares:
| Device | DIY Risk | Pro Install Cost | Cost of DIY Failure |
|---|---|---|---|
| Smart thermostat (C-wire present) | Low — color-match wires | $75 – $125 | $50 – $100 (service call to fix) |
| Smart thermostat (no C-wire) | High — electrical work needed | $125 – $250 | $1,500 – $3,000 (compressor damage) |
| Smart lock (aligned door) | Low — bolt replacement | $75 – $100 | $200 – $350 (lock replacement) |
| Smart lock (misaligned door) | Medium — carpentry needed | $75 – $150 | $200 – $350 (lock replacement) |
| Video doorbell (adequate transformer) | Low — 2 wire connection | $50 – $100 | $30 – $50 (troubleshooting time) |
| Video doorbell (transformer upgrade) | Medium — electrical work | $75 – $150 | $100 – $250 (electrician emergency) |
| Water shutoff valve | High — plumbing main line | $200 – $400 | $500 – $2,000 (water damage) |
The pattern is clear: when the prerequisite conditions are already met (C-wire present, door aligned, transformer adequate), DIY installation is reasonable. When preparatory work is needed, professional installation costs a fraction of what failure costs.
Reactive vs. Predictive: The Cost Case for Monitoring Devices
The financial argument for smart monitoring is that preventive work typically costs 5% to 10% of the emergency repair it prevents. The gap holds across every major home system:
| Home System | Reactive Cost | Predictive Cost |
|---|---|---|
| HVAC compressor failure | $3,000–$7,000 emergency | $100–$200 annual tune-up |
| Burst pipe + water damage | $5,000–$15,000 | $100–$250 plumbing inspection |
| Roof leak + interior damage | $5,000–$20,000 | $200–$400 annual inspection |
| Dryer vent fire | $5,000–$50,000+ | $80–$150 vent cleaning |
| Foundation crack | $4,500–$15,000 | $150–$300 gutter maintenance |
The cheapest entry point: standalone water leak sensors at $30–$50 each, placed under sinks, beside the water heater, and behind the washing machine — three locations that account for roughly 70% of interior leaks. Most pair directly with a smartphone, no hub required. From there, monitoring budgets fall into three tiers:
- Basic sensors ($30–$150): leak sensors, smart smoke detectors, temperature monitors, door/window sensors
- Smart systems ($200–$500): smart thermostat, whole-home water monitor, HVAC monitoring, energy tracking hub
- Full integration ($500–$2,000+): predictive maintenance platform, automated shutoff valves, integrated dashboard, professional monitoring
One caveat before relying on any of it: monitoring predicts and schedules — it does not inspect. A smart thermostat can flag an efficiency drop, but it cannot identify a cracked heat exchanger leaking carbon monoxide. Annual professional inspections remain non-negotiable for gas appliances, electrical panels, and structural systems, and predictions for older homes stay unreliable until a professional baseline assessment documents system ages and condition.
The Smart Home Installation Checklist
Before installing any smart home device, work through this checklist to avoid the most common failure points:
- Check power requirements — verify that your existing wiring, transformer, or outlet meets the device specifications before opening the box
- Test Wi-Fi signal strength — use your phone to check signal at the installation location. Smart devices need consistent signal, not occasional connection. Below -60 dBm usually means you need a Wi-Fi extender
- Verify physical compatibility — measure door thickness for smart locks, check wall box depth for smart switches, confirm pipe diameter for water valves
- Read the actual installation guide — not the quick-start card, not a YouTube video. The full manufacturer guide lists prerequisites that abbreviated materials skip
- Identify the failure cost — if a bad installation could damage your HVAC system, flood your home, or void a warranty, the $75 to $250 professional installation is the cheaper option
Smart home technology keeps advancing, but the homes it gets installed in do not upgrade themselves. The gap between modern devices and existing infrastructure is where every installation problem lives. Addressing that gap before mounting the device is what separates a smart home that works from one that frustrates.
Finding the Right Installer
Smart home installation spans multiple trades. Thermostat wiring is HVAC or electrical work. Door alignment is carpentry. Transformer replacement is electrical. Water valve installation is plumbing. Matching the right tradesperson to the specific task ensures the work gets done correctly the first time.
For most smart home installations, a skilled handyman can handle lock installation, doorbell mounting, and basic thermostat swaps. More complex work — C-wire runs, transformer upgrades, and water valve installations — requires licensed electricians or plumbers who understand building codes and can pull permits where required.
Platforms like AllBetter let you describe the specific installation you need, compare quotes from verified local professionals, and pay through escrow so the installer gets paid when the device works correctly. This approach works particularly well for smart home projects because you can bundle multiple installations — thermostat, locks, and doorbell — into a single visit to reduce per-device installation costs.
Pro Tip
Bundle multiple smart home installations into a single visit. Combining thermostat, lock, and doorbell installs saves 20-30% compared to scheduling separate appointments, and a single pro can spot cross-device issues (like Wi-Fi dead zones) that individual installers might miss.
Investing in smart home technology is part of a broader approach to home improvements that add value. Energy-efficient upgrades like smart thermostats also connect to strategies for reducing home energy costs. Keeping all systems — smart and traditional — working properly starts with a solid home maintenance routine.
Get Your Smart Home Installed Right the First Time
Compare quotes from verified electricians, plumbers, and handymen near you. Pay through escrow — the pro gets paid when the work is done right.
Hire an ID-verified home services pro — without the lead-gen markup
| Feature | Angi / Thumbtack / HomeAdvisor | AllBetter |
|---|---|---|
| Pro Identity Verified | Self-attested, no verification | Stripe Identity verification on every pro |
| Lead Fees to Pros | $15–$80 per lead (passed back to homeowner) | only pay when you win — ever |
| Payment Protection | None — you pay direct, hope for the best | Escrow Shield — you only release payment when work is approved |
| Pro Quality Filter | Anyone can sign up; reviews come later | ID-verified pros, average 3+ bids per job |
| Spam & Auto-Calls | Your phone rings for days after one inquiry | Zero spam — pros message in-platform |
Lead-fee context: home services leads on traditional platforms run $20-$80 each — that markup gets baked into your quote.
DIY-ing home services work without an ID-verified pro can turn a $200 fix into a $2,000 do-over — and the quality issues only show up months later. The safer move is to post the job on AllBetter — you get ID-verified bids in minutes, no obligation.
Your money sits in escrow and is released only when you approve the work.
Frequently Asked Questions
Do I need an electrician to install a smart thermostat?
If your existing thermostat has a C-wire (five or more wires behind the wall plate), most homeowners can install a smart thermostat by matching wire colors. If no C-wire exists, an electrician or HVAC technician should run a new wire or install an adapter to prevent HVAC damage from improper power stealing.
Why does my smart lock drain batteries so quickly?
Rapid battery drain almost always indicates door misalignment. The lock motor strains against resistance on every cycle, consuming three to five times more power than normal operation. Fix the door alignment before replacing batteries — the problem will return immediately otherwise.
Can I install a video doorbell myself?
Yes, if your existing doorbell transformer meets the video doorbell’s voltage requirements (usually 16-24V AC). Check with a multimeter first. If the transformer output is too low, have an electrician replace it before installing the doorbell to avoid chronic connectivity and video quality issues.
Is a smart water shutoff valve worth the cost?
For any home left unoccupied for extended periods (vacations, work travel, seasonal use), a smart water shutoff valve is one of the highest-value smart home investments. The Insurance Information Institute reports the average water damage claim exceeds $12,000, making the $300 to $600 total installed cost a strong return on investment.
How much does professional smart home installation cost?
Individual device installation ranges from $50 to $400 depending on complexity. Simple swaps (thermostat with C-wire, lock on aligned door) cost $50 to $125. Work requiring new wiring, transformer replacement, or plumbing connections costs $125 to $400. Bundling multiple installations into one visit typically saves 20% to 30% compared to separate appointments.
What smart home devices should I install first?
Start with the device that provides the most practical benefit for your situation. A smart thermostat delivers immediate energy savings. A smart lock improves daily convenience. A water shutoff valve provides protection against catastrophic damage. Prioritize based on your actual needs rather than trending product lists.
More AllBetter resources: